Problem Definition: Sub-Contracting was a much-needed functionality in any project management platform which Project Operations was missing. With the latest updates from Microsoft, we now have Sub-Contracting feature available which can leverage creating contracts for the Sub-Contractors\Vendors with whom we work.
Solution: Let’s look upon how do we enable this feature on Project Operations environment and create a Subcontract. Please follow the below steps to enable, configure and then create a Sub-Contract for a vendor.
PN: This feature is still in preview and hence, there are continuous updates coming from Microsoft to enhance this feature.
Enabling:
The first step is to enable the Sub-Contracting feature in Project Operations. In order to enable this feature,
Step 1: Navigate to Settings Area and then go to Parameters and Open the Parameter record as shown below.
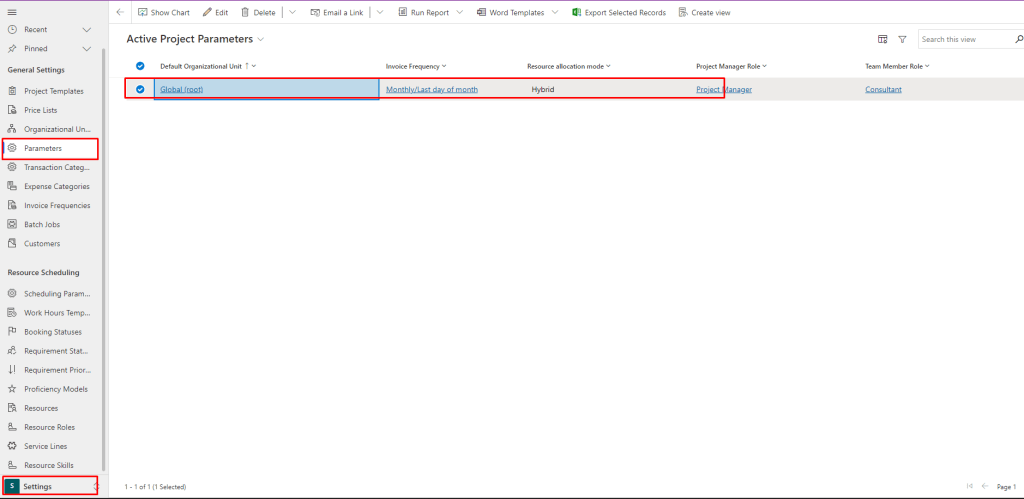
Step 2: Click on “Enable SubContracting” from the Feature Control button in the Ribbon Control. Just remember, once this feature is enabled, it cannot be disabled. There is no harm with that said in enabling this feature.

When the Sub Contracting is enabled, you shall start seeing Purchasing section in the Projects Area as shown below.
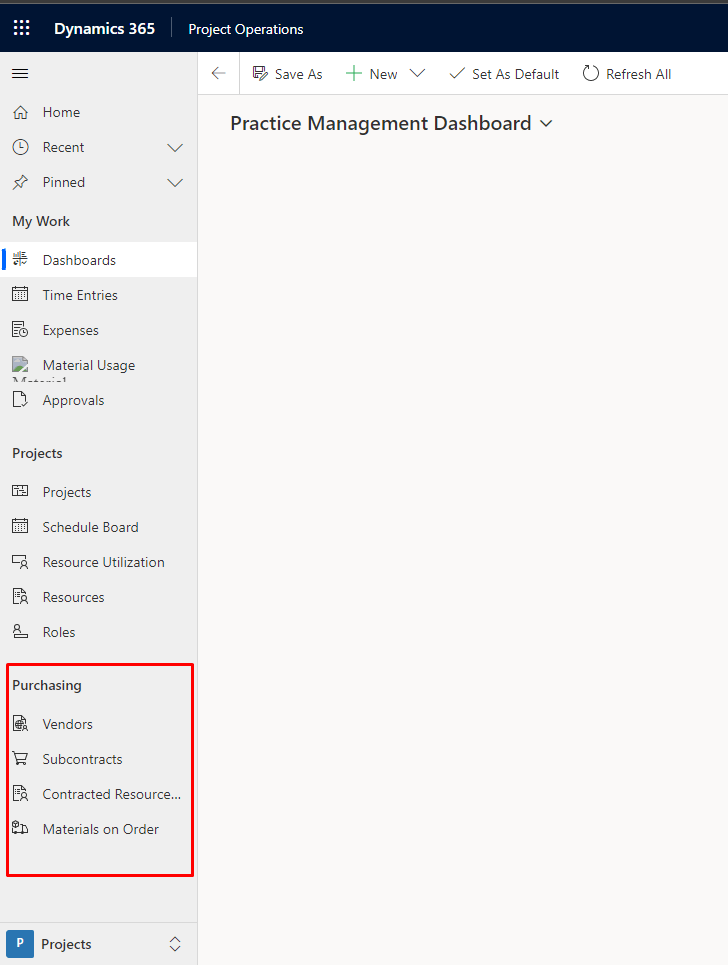
The above 2 steps will enable SubContracting feature on your Project Operations environment. Also, this feature is only available for now on the Project Operations Lite deployment version. This will also slowly get enabled for the integrated deployments of Project Operations.
Configuration:
There are some configurations that we need to do or I must say some details that are required to create the Sub Contracts should be present. Let’s look at what are those.
Config 1:
Create an account of type Vendor.

Config 2:
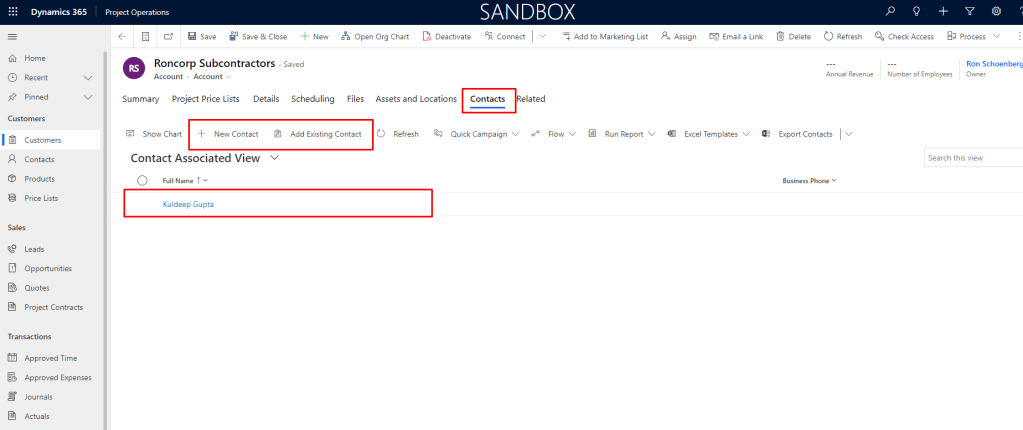
Attach the related Resources (So called Contacts here) to the Vendor created as shown below.
Config 3:
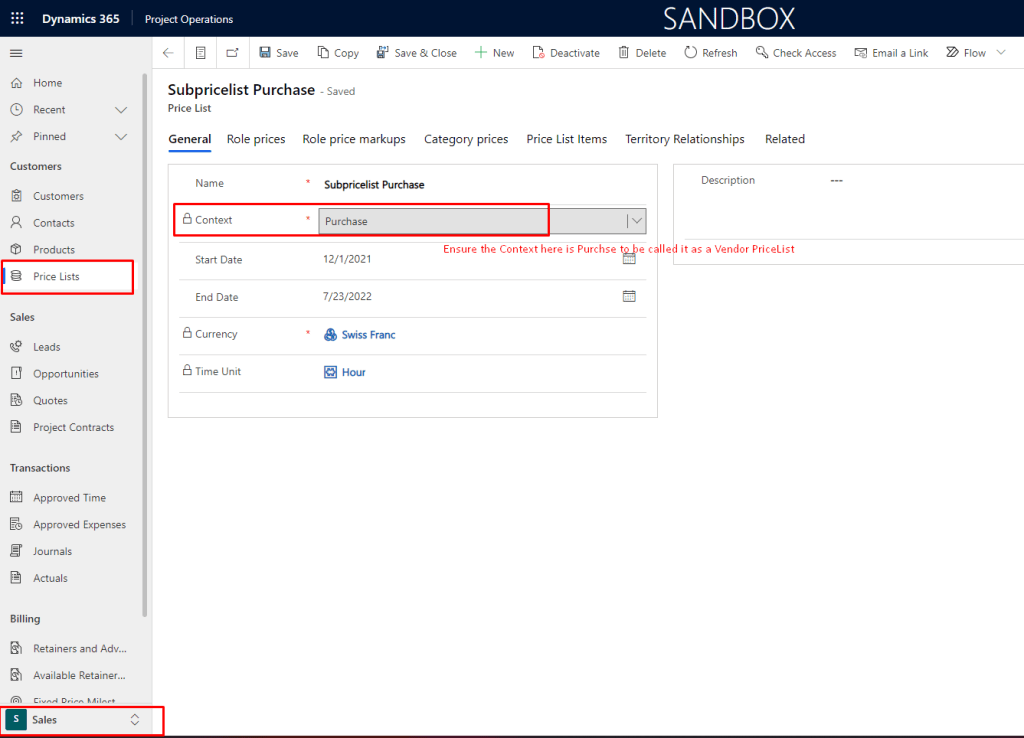
Create a Vendor Price List.
Create a Contract:
Let’s start creating a Sub Contract.
Step 1:
Navigate to Purchase Section on Project area ,click on Sub Contracts and click on New Button as shown below:

Step 2:
Fill in the information in General Tab as shown below.
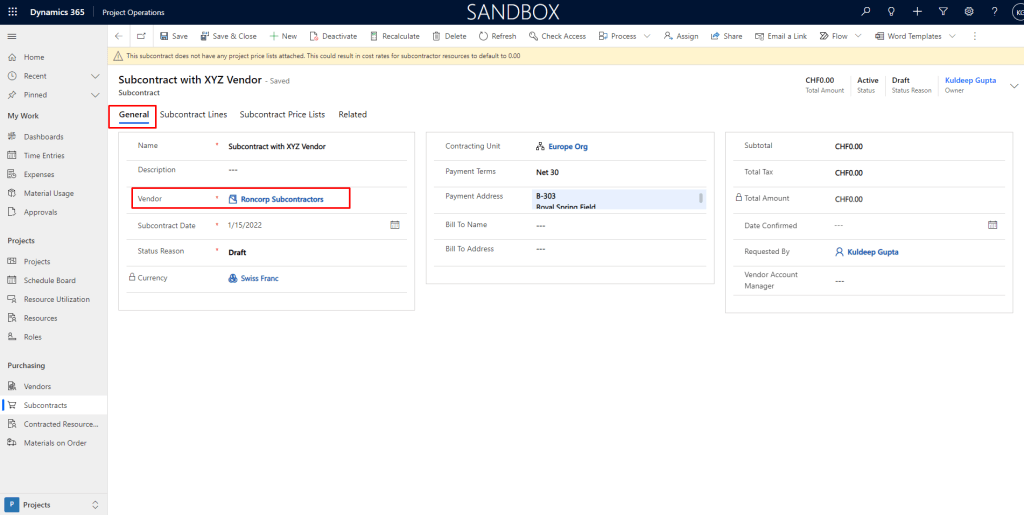
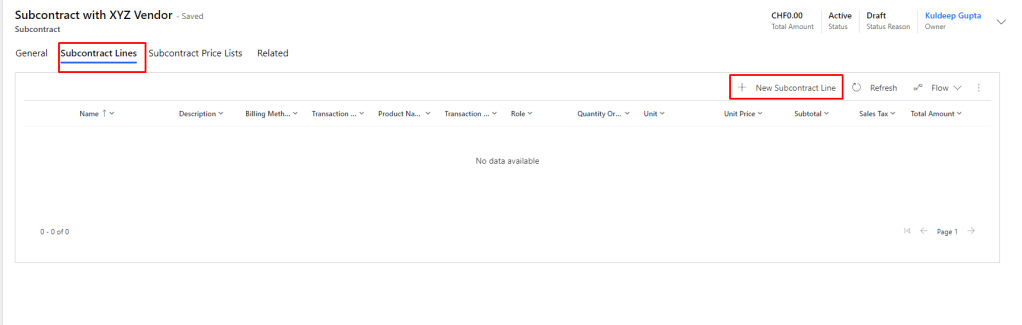
Step 3:
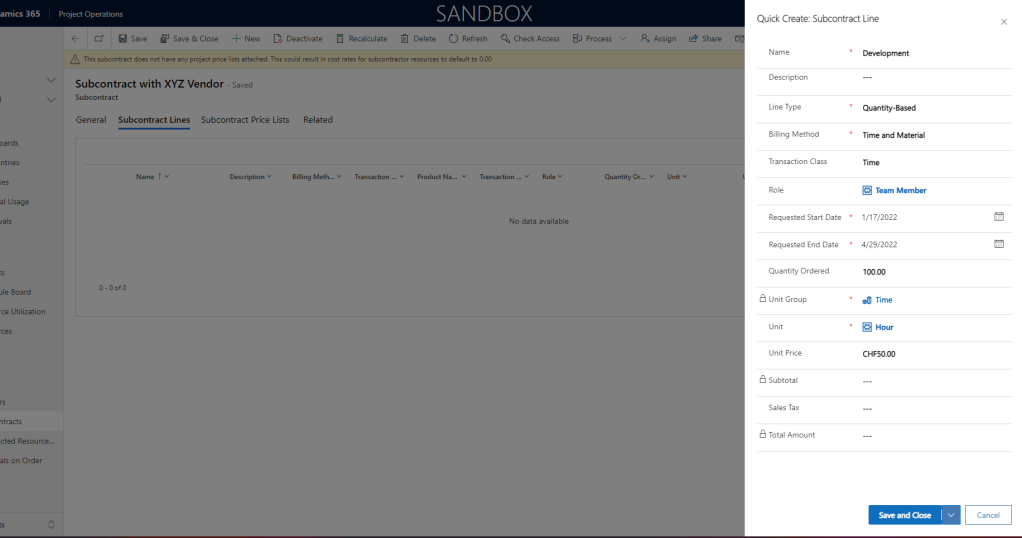
Create the Subcontract Lines and fill in the details in the Quick Create form that opens up as shown below.
Step 3:
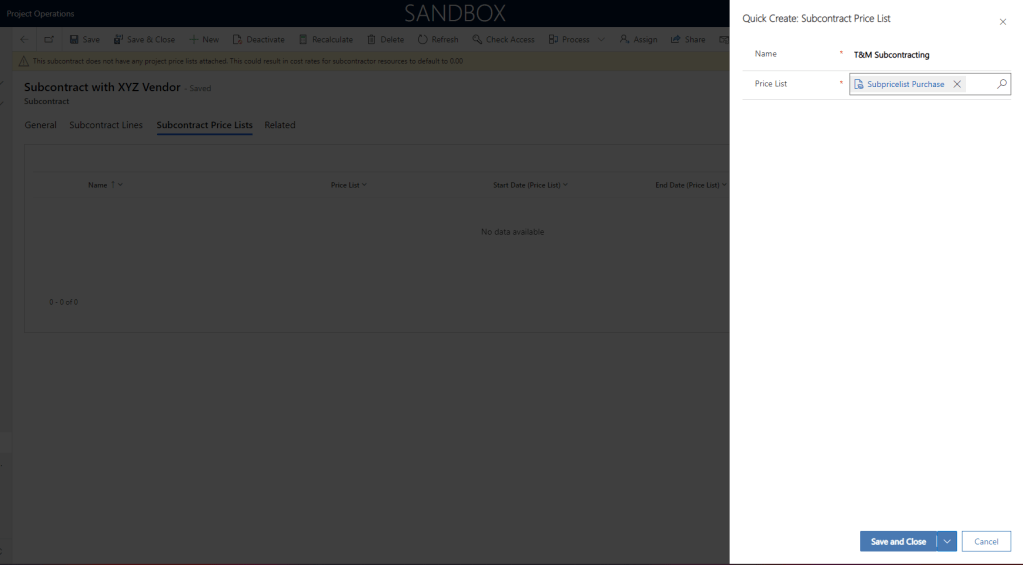
Add a Sub Contracting Price List as shown below:
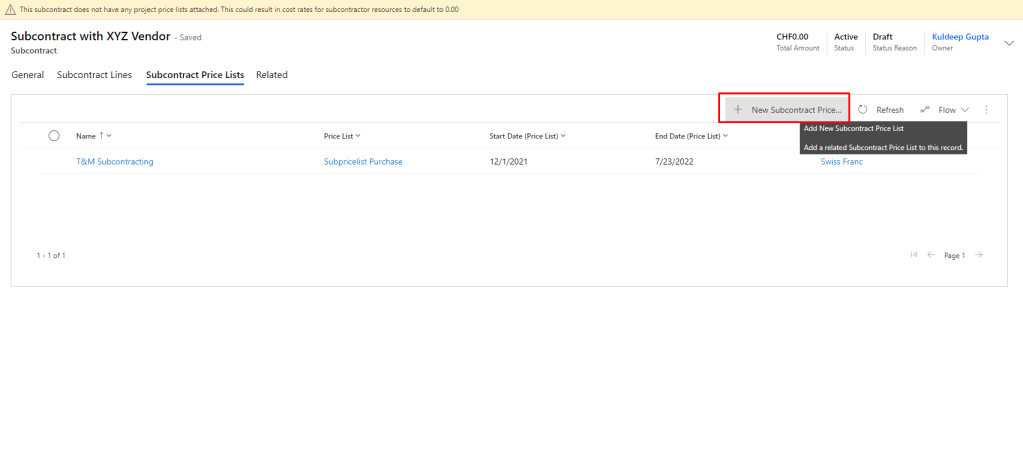
Your Sub Contract is ready. Now when you assign the resource from a Vendor onto the project, this Subcontract comes to light.
When there are now time entries from this resource the subcontract shows actuals over it.

Hello thank you sir for your article, actually how this subcontract resource will log the time entry and he are not access my system
LikeLike
Omar, he will just do the time entries on the project normally as the user does. He needs a Team Member license to do so. Since he is registered in the system as a Contractor Employee his actualls will be recorded as a Subcontractor.
LikeLike