CI/CD pipeline containing Azure DevOps is well known and is necessary for the automated deployment of solutions from the development environment to the user acceptance test and from the user acceptance test to the production environment.
Solution: –
In Dynamics 365-2022-release wave 2, Microsoft introduced a feature called Power Platform Pipeline for deployment of Solution from Dev to UAT and UAT to Prod.
To deploy the feature, no additional integration would be needed. To use the feature, your tenant only has to be configured.
Prerequisites: –
Steps to configure the environment: –
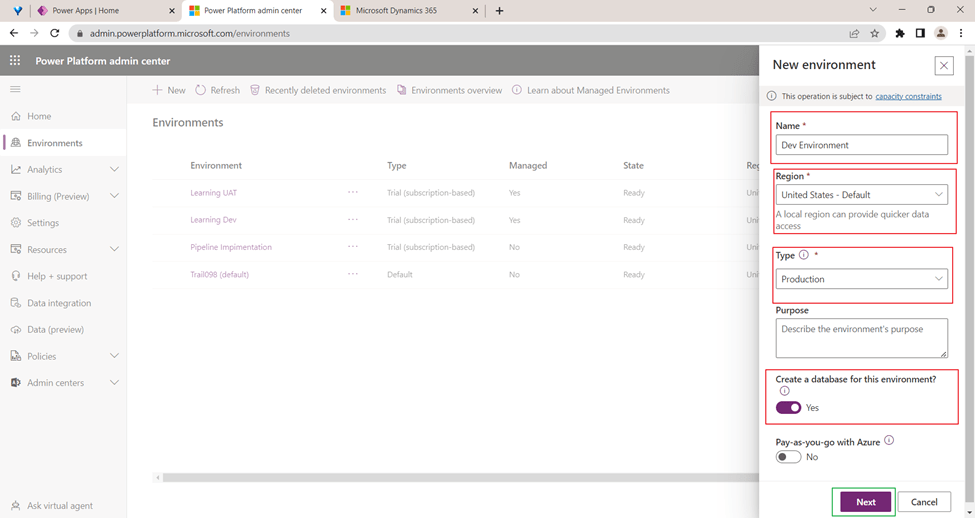
- Power Platform. Go to the Environment section and click on “New”.

- It will open a window to create new environment, Select the region and type and give a database to the environment and click “Next”.

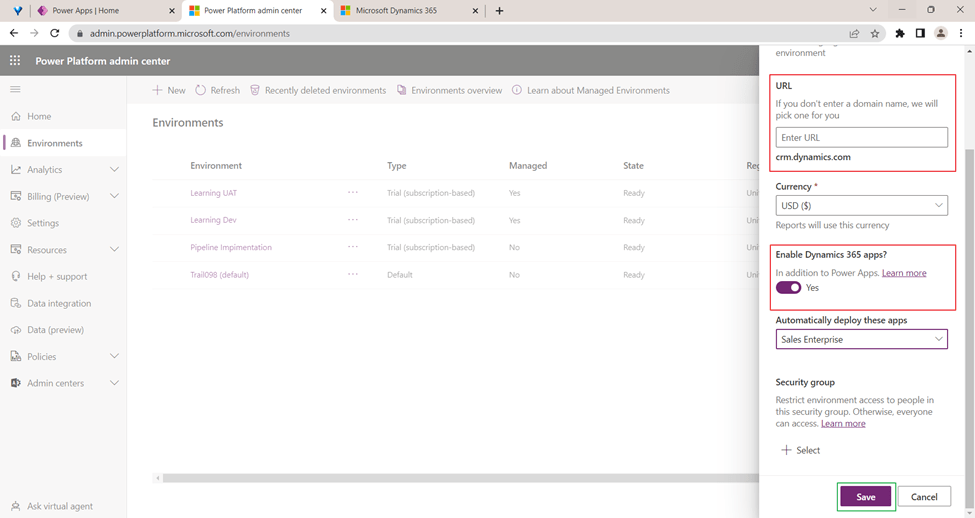
- Give the URL to your environment and click on “Save”.

- This will create your host environment where we will configure our pipeline.
- Now we required Development Environment and Target environment.
NOTE: – The development environment and target environment must have Type and Region same and environment as a managed environment.
- Now we will create Development and Target environment. So, for creating these environments follow the below steps:
- Go to the Power platform which link is provided above. Click on “New”.

2. Give the name to your environment select region and type same as the “Host Environment”
3. Enter the URL to your Environment and give the access to D365 apps and select whatever you want to choose, and then click on “Save” button.
4. Repeat the steps for Target environment as well.
- Now we will create Development and Target environment. So, for creating these environments follow the below steps:
- Go to the Power platform which link is provided above. Click on “New”.

2. Give the name to your environment select region and type same as the “Host Environment”

3. Enter the URL to your Environment and give the access to D365 apps and select whatever you want to choose, and then click on “Save” button.

4. Repeat the steps for Target environment as well.
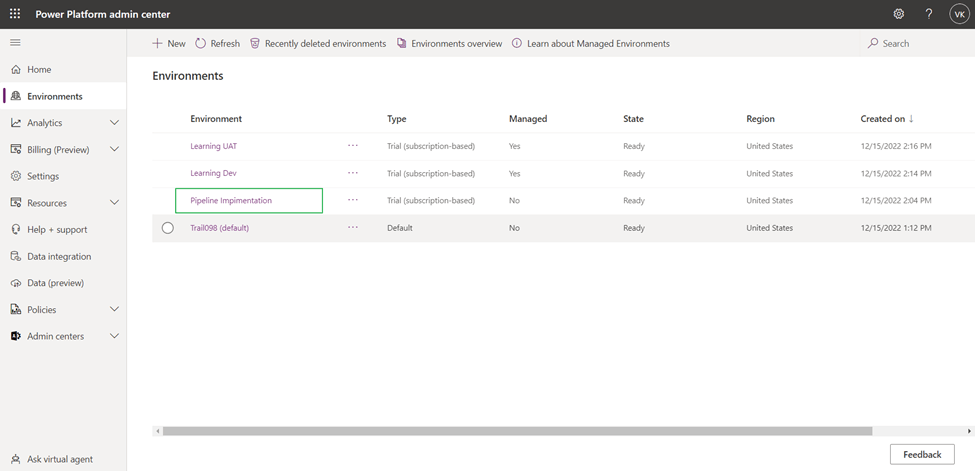
- Once you will create your all the environment. Store the environment ID of Development and Target environment.


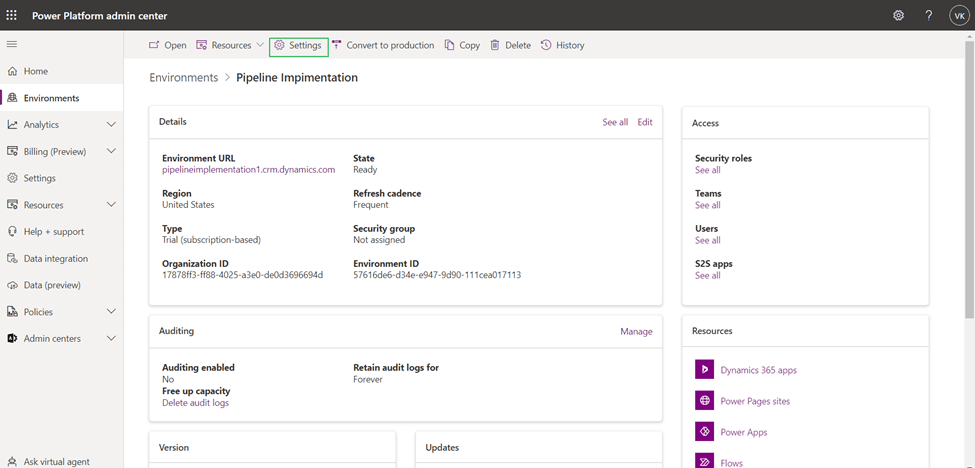
Steps to setup “Host Environment
- Click on your Host environment.
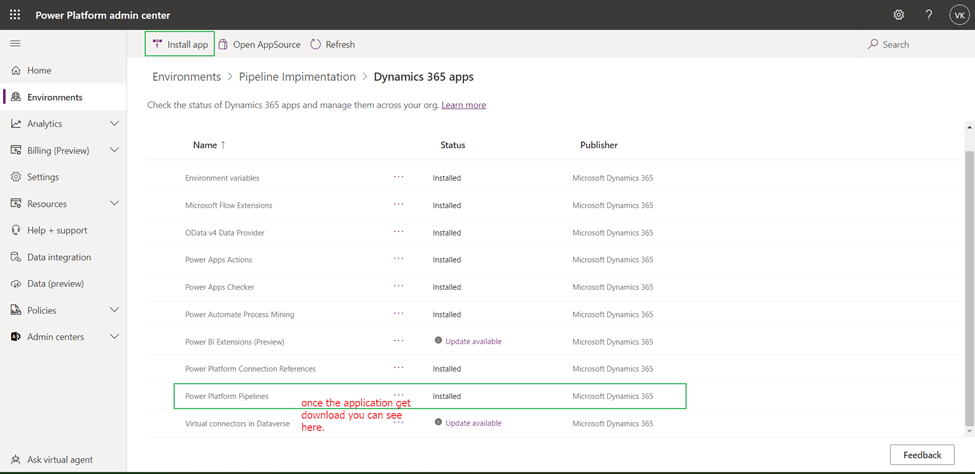
- Click on Resource, Select Dynamics 365 Apps.

- Select Install app and download the Power Platform Pipeline application.
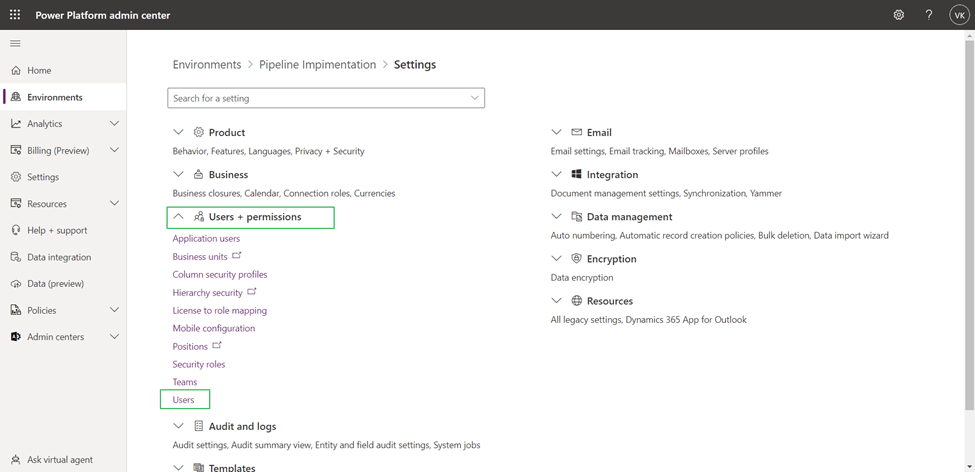
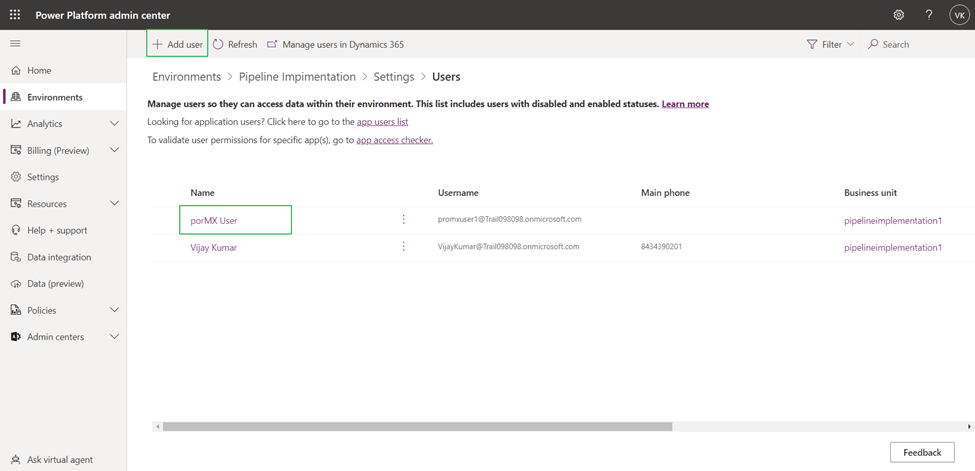
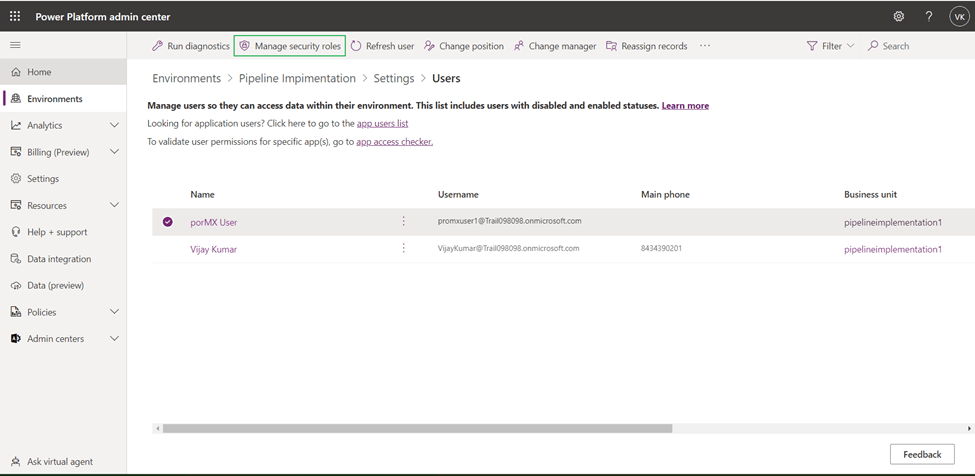
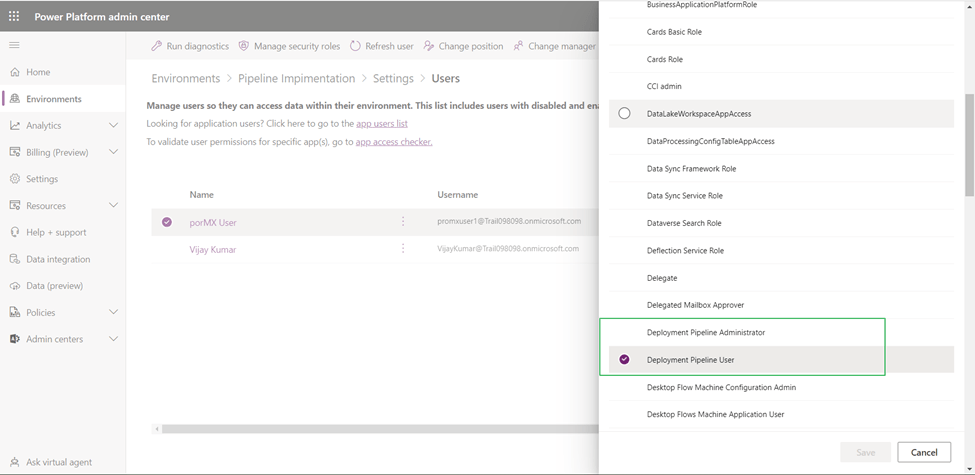
- Go to the settings and select User and permission. Select a user option. Choose/Add user and give him/her security role as “Deployment Pipeline Administration or Deployment Pipeline user” and save.
Configure Pipeline: –
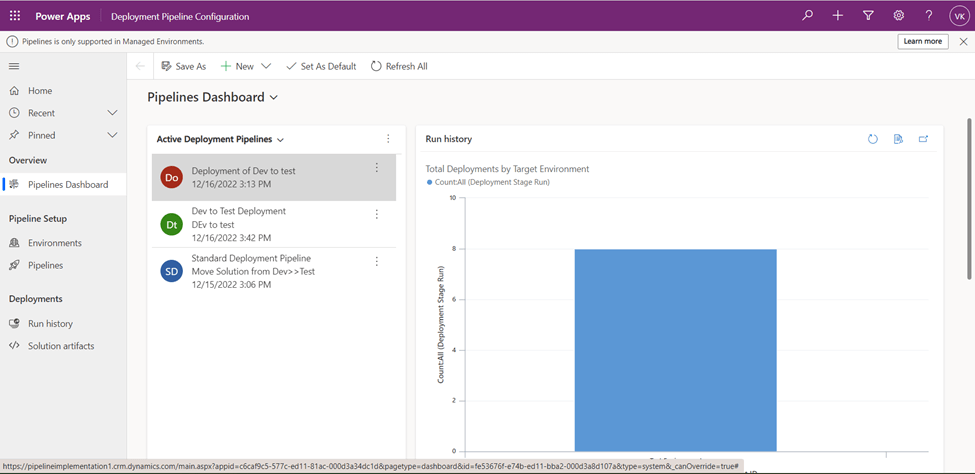
- Open PowerApps.
- Select the “Host Environment”, go to the Apps and select Deployment of Pipeline configuration.


- It will open a model driven page like below.
- Setup up your environment select environment and Click “New”
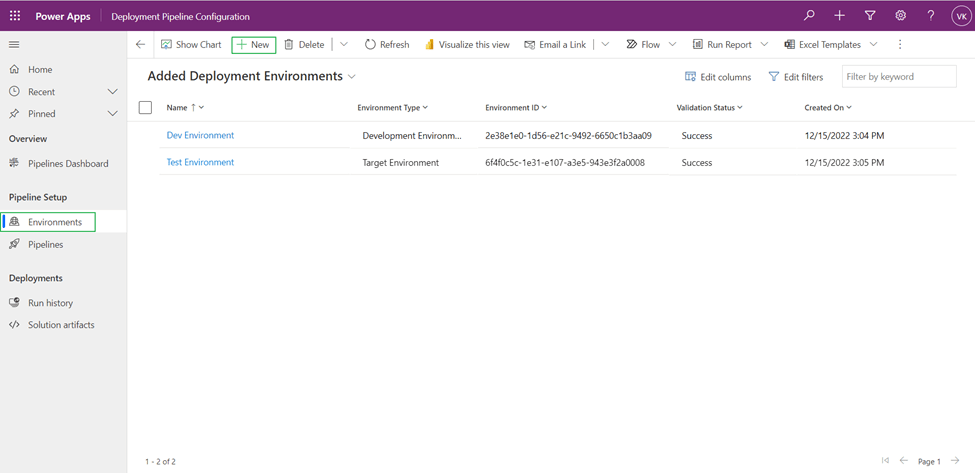
- Give Name to your environment and Select Environment type “Development/Target” and Give the Environment ID that we stored earlier then click on save. Do same for all the Environment.

- Now we are ready to configure the Pipeline, Select Pipeline, click on New.
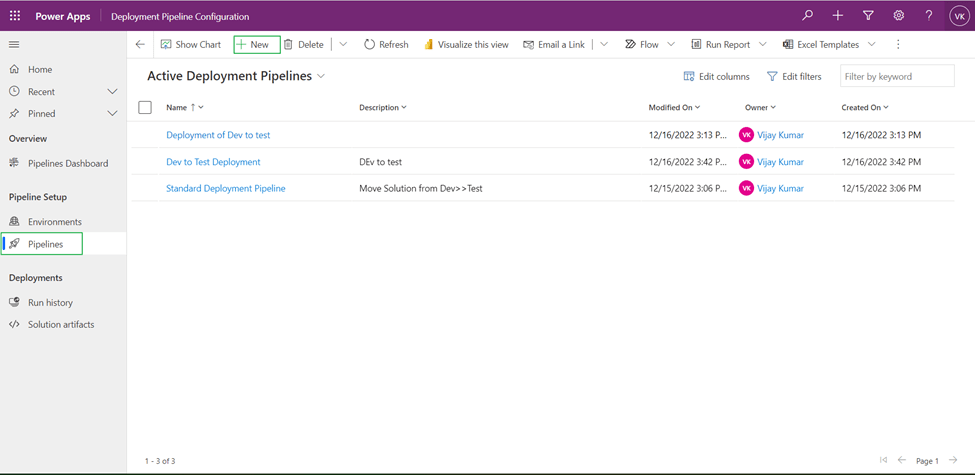
- Give Name to your Pipeline and Add description then click on save.

- Once you will save you will get the some more section like Link development environment and configure deployment stages.
- Add Development environment into your Link development environment section. Select existing environment and add the development environment and click on Add.


- In deployment stages, click on add ‘New Deployment Stage’ .
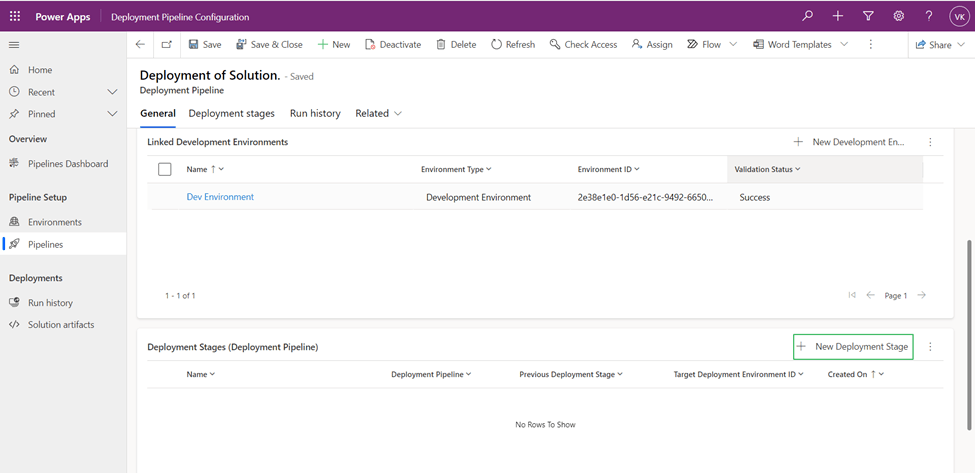
- Give the name to your Stage and select your target environment. And save close it.

Note: – if you have one more environment like production then add one stage in that fill the pervious deployment stage “UAT environment” so it will do UAT to Prod movement of a solution.
- Click on “Save&Close”.


Deployment of your Solution.
- Open PowerApps.
- Select development environment and go to your solution where you want to deploy the pipeline.
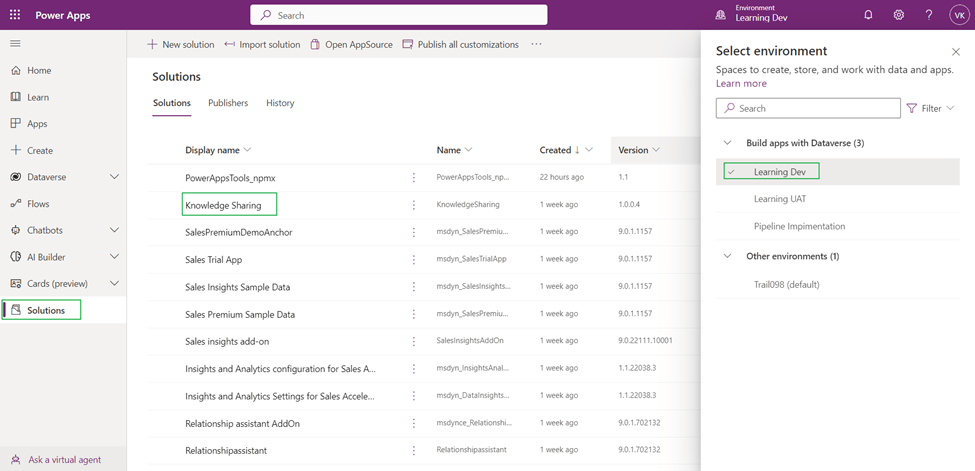
- Open the solution and select the pipeline.

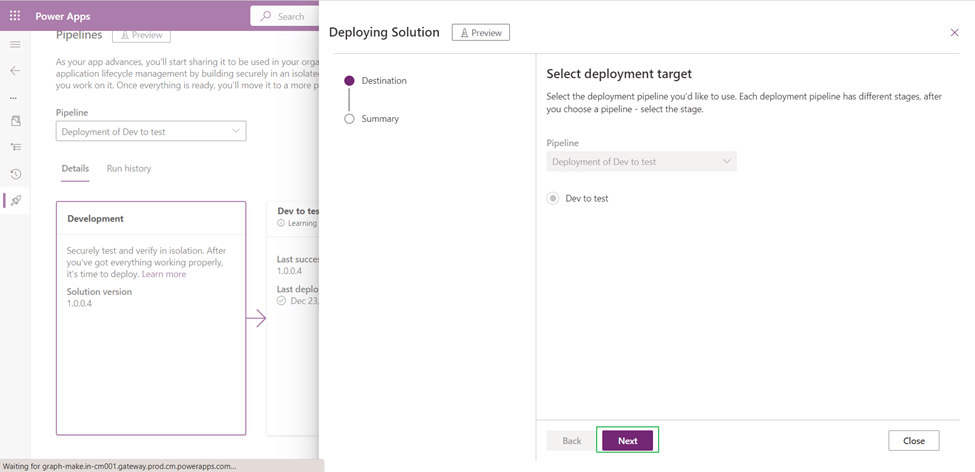
- Choose your pipeline. And click on deploy.

- Once you click, you will get information of your solution. Just check it and click on deploy.
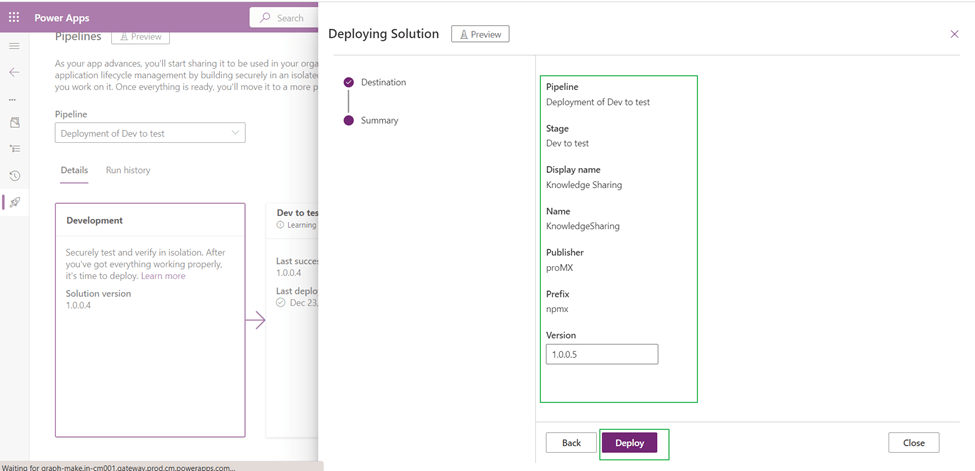
- It will deploy your solution into the UAT environment.

Conclusion: –
You can quickly and easily deploy your solution into a development-to-UAT environment. We won’t need to manually perform it or need Azure Integration with CI/CD.
The solution migration will be a little bit simpler thanks to this automation method.
Thank you, Vijay Kumar for your inputs

One thought on “Power Platform: CI/CD Pipeline”