Introduction
Bookmarks are effortlessly accessible tools that allow users to establish and toggle between diverse filter configurations. By default, bookmarks are enabled.
Steps to Create a Bookmark
- Open the filter pane and select your desired filter.
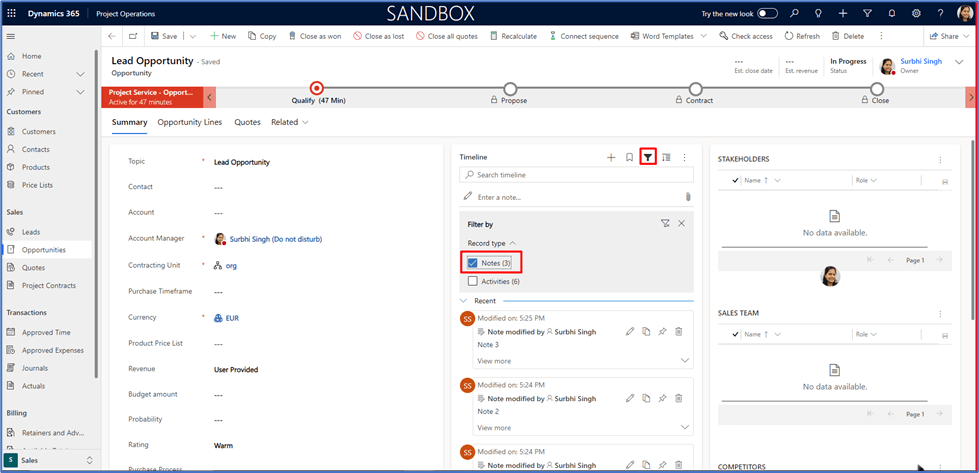
2. Click on “Bookmark,” then choose “Add Bookmark.”

3. Enter the name of the bookmark and click “Save.”
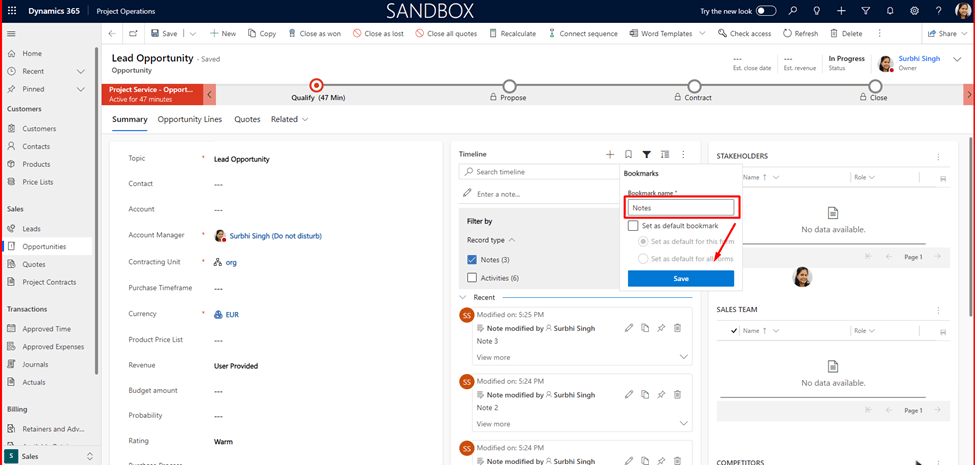
4. The entered name will now be visible in the list of bookmarks.

5. Repeat the process to create another bookmark using the same steps.
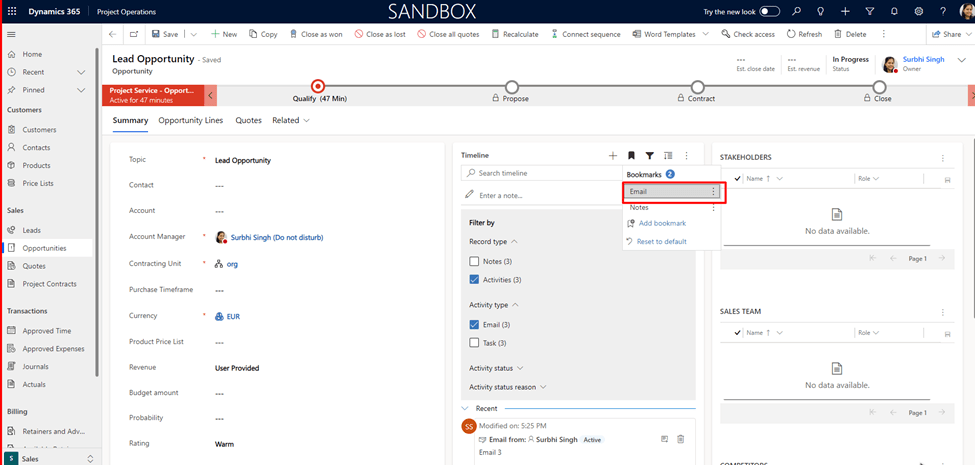
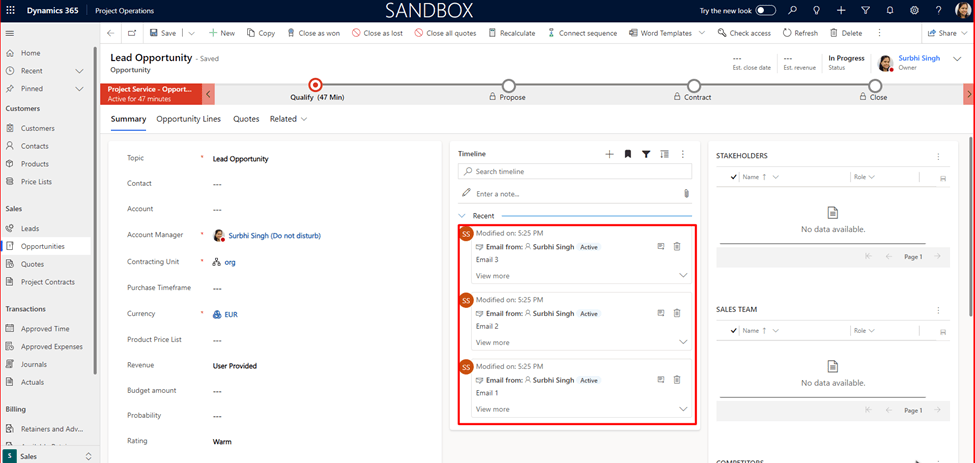
6. Clear all filters and close the filter pane. Select the “Email” bookmark. This will display only emails on the Timeline.
7. Choose the “Notes” bookmark to show only notes on the Timeline.

Conclusion
Efficiently manage and organize your Dynamics 365 timeline by creating bookmarks for specific filters. Simplify timeline views by selecting relevant bookmarks based on your preferences.
| 1 | Blog post keywords | Sales, Timeline, D365, Create Bookmark |
| 2 | Purpose/intention of the post | Use a Bookmark on Timeline |
| 3 | Potential headline | Create a bookmark on Timeline |
| 4 | Blog post outline | |
| 5 | Category | |
| 6 | Blog post type | |
| 7 | Featured image |
Thank you, Surbhi for your valuable inputs!
